Your Ninja coded real arcade-style games in MakeCode Arcade this week — and brought home a handheld game console (Meowbit, PyBadge, or PyGamer) loaded with their games. Every Ninja's project is also published to our class Padlet so you can play and edit at home in three steps:
Open the Padlet board for your ninja's week. Every Ninja in the class has a tile with their published game.
Find your ninja's tile and click the share link. The link opens your ninja's project in MakeCode Arcade (free, runs in any browser, no install).
Play, edit, or load onto the console. Hit the green Play button in the editor to play in the browser. Or plug the handheld console into a USB port and drag the game over to load it. From here your Ninja can keep tinkering, adding sprites, tweaking gameplay, and building new levels.
What We Covered This Week
Throughout the camp, Ninjas coded seven real arcade-style games in MakeCode Arcade — learning the same concepts professional game developers use: coordinates, velocity, gravity, functions, arrays, and conditionals. It's block-based to start, with a one-toggle bridge to real JavaScript or Python. Click any topic to expand.
MakeCode Basics: Sprites & Pixel Art Selfie
Met MakeCode Arcade — built their first project, toured the simulator, code blocks, and coding area
Built Bring Sprites to Life — added a sprite, moved it with buttons, kept it on screen, gave it speech, added a background
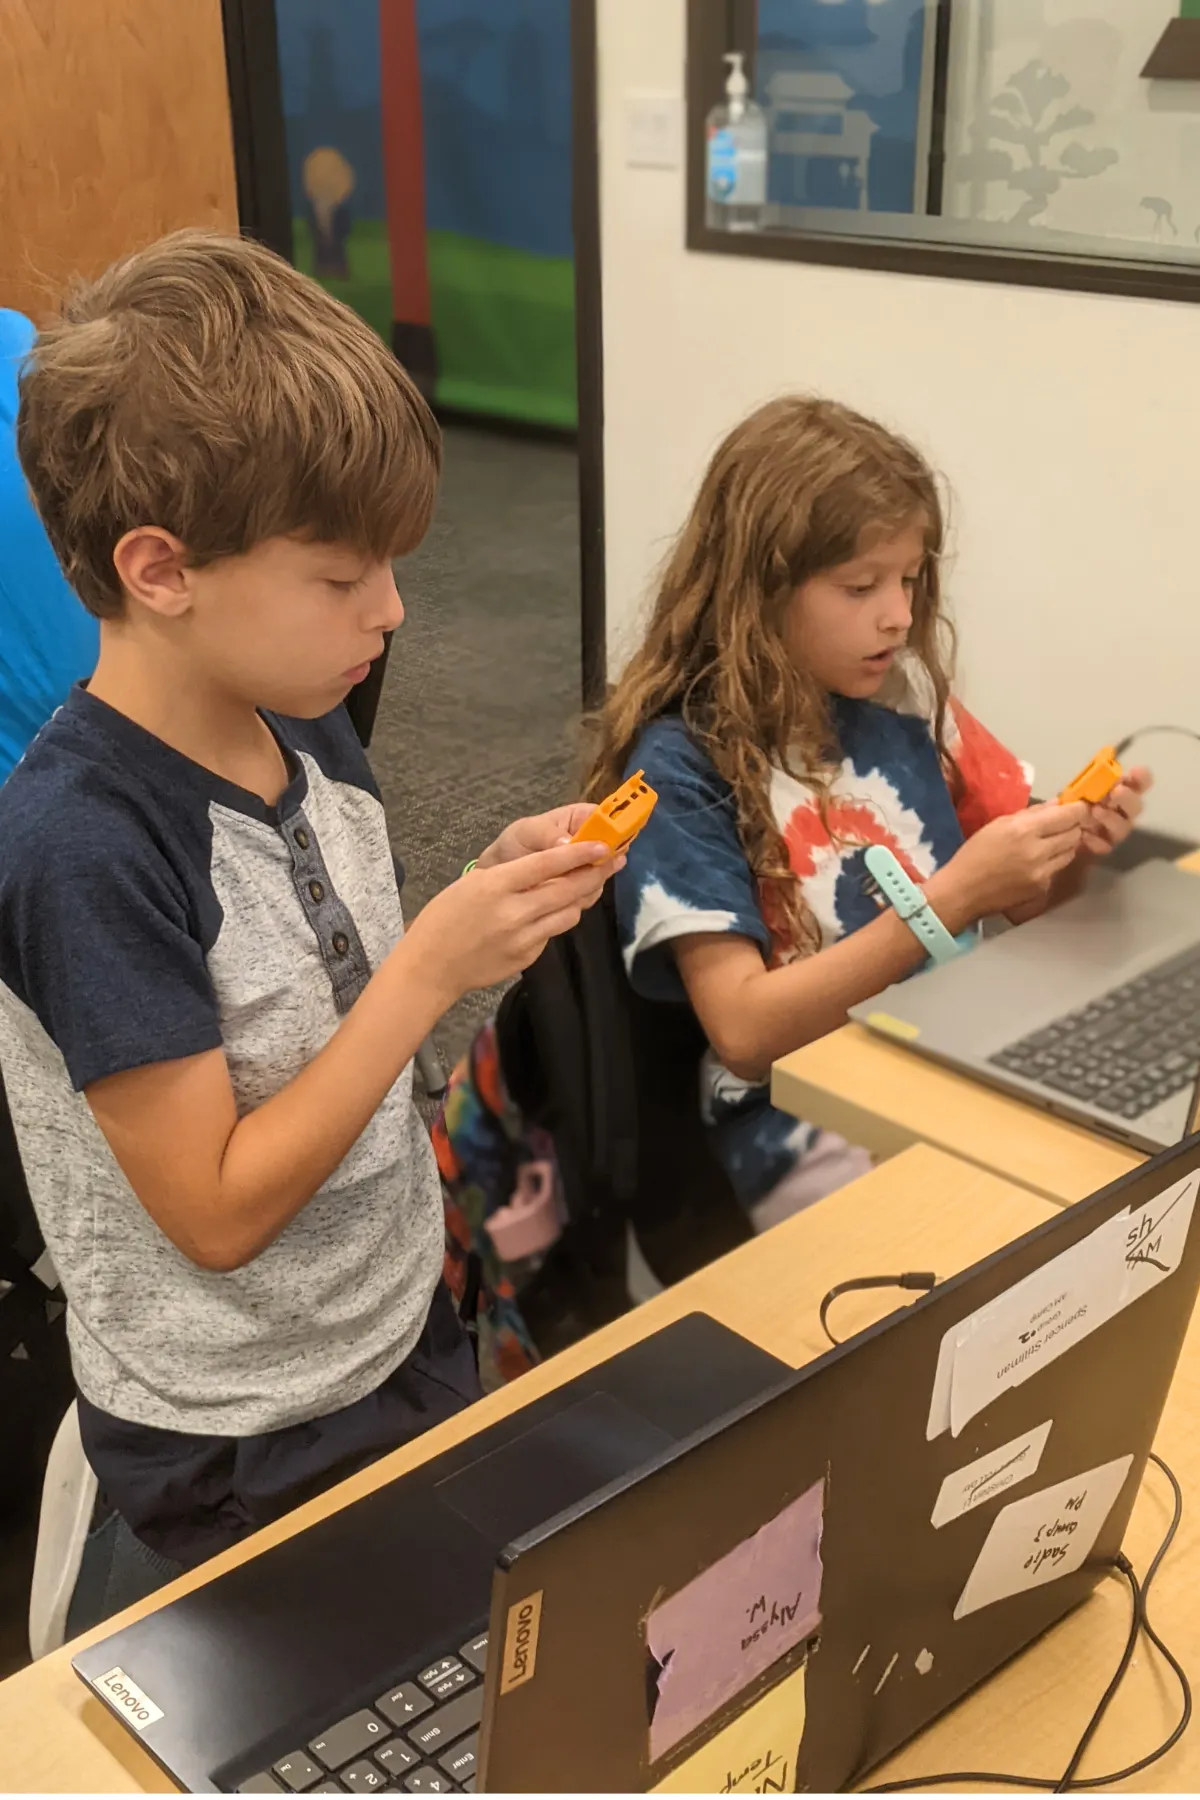
Met their personal handheld console (Meowbit, PyBadge, or PyGamer) and uploaded their first game to the device
Held Arcade Playtesting — swapped consoles and gave each other "Glow" and "Grow" feedback (real game-designer practice)
Built a Pixel Art Selfie — designed a custom character in the sprite editor and saved to assets
Maze Games & Tilemaps
Played Robot Maze in real life — one ninja becomes the "robot," the rest verbally code them through an obstacle course (intro to sequence)
Talked about what makes a great maze game — walls, start, end, obstacles, timer
Built a Scrolling Maze Game with a tilemap, marked walls, a start tile, and an end tile
Coded the win condition — sprite-overlap on the END tile triggers game-over WIN with a visual effect
Customized with sounds, a splash title, "oof" speech bubbles when hitting a wall, and a score tracker
Physics & Functions: Jumping Game & Retro Pong
Learned coordinates, velocity, and acceleration — the math that makes games feel alive
Built a Jumping Game (Donkey Kong / Star Wars style) — player sprite jumps with negative velocity, falls with positive acceleration (gravity!), score updates each laser, game-over on overlap
Met functions — reusable named blocks of code like createBall, createLeftPaddle, createRightPaddle
Built Retro Pong (the original 1972 arcade game) — ball bounces off walls and paddles, computer paddle follows the ball's y-position (AI opponent!)
Star Challenge: turned Retro Pong into a 2-player game
Image Arrays: Space Invaders & Robot Attack
Learned image arrays — storing multiple sprites in a list so the game can cycle through them
Built Space Invaders — rows of enemy sprites, sprite overlaps, lives, score
Started Robot Attack (Part 1) — designed a custom tilemap and laid out the world
Robot Attack Finale & Arcade Celebration
Finished Robot Attack — added text arrays for dialogue, win/lose conditions, a countdown, and multi-level design
Customized their game with personal sprites, music, and difficulty tuning
Loaded the final game onto their handheld console
Wrapped with the Arcade Party & Camp Celebration — parents and community came in to play every Ninja's game
What's Next?
Want your ninja to keep building? Code Ninjas® West Katy's CREATE program turns the spark of camp into a year-round 9-Belt journey — from white belt to black, building real games week after week with their own Code Sensei®. New students can start with our Summer of Code promo: 2 months for $299, ages 8–14. Promotion ends June 30.
Or come back for a FREE 30-minute trial to see if year-round is the right fit for your family.
.png)


.png)
.png)